
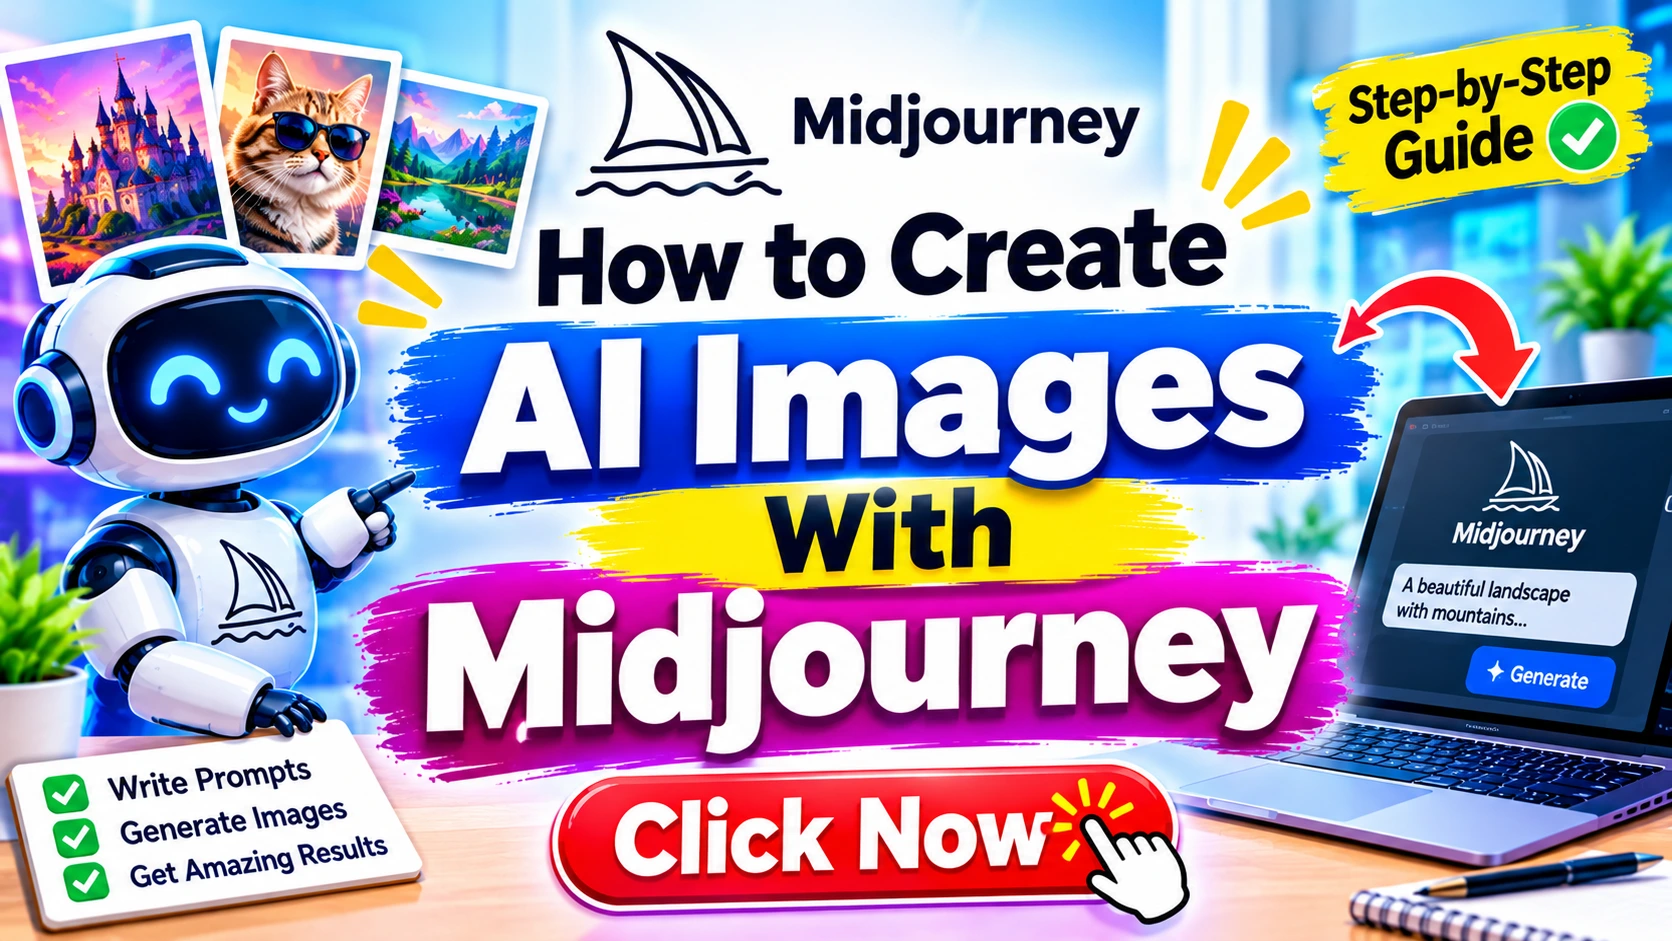
Introduction: The Dawn of AI Art
For decades, the creation of stunning, professional-grade visual art was a domain reserved for those with years of training, expensive software, and a natural-born talent for composition, color, and light. The barrier to entry was immense. But a seismic shift has occurred. We are standing at the precipice of a creative revolution, one powered by artificial intelligence. At the forefront of this revolution is a tool that has captured the world’s imagination: Midjourney.
Welcome to the definitive guide on how to create AI images with Midjourney. This isn’t just another surface-level tutorial. This is a deep, comprehensive exploration into a powerful platform that is redefining the boundaries of creativity. Whether you’re a seasoned digital artist, a marketer needing unique visuals, a blogger looking for perfect featured images, or simply a curious soul with an idea you’ve always wanted to see come to life, this article is your roadmap. We will move from the foundational concepts to the nuanced techniques of advanced prompt engineering, turning you from a novice into a confident creator.
The problem for most beginners is that the initial experience can feel like a lottery. You type a few words, hit enter, and hope for the best, often ending up with bizarre, distorted, or just plain wrong results. This guide is the quick answer to that problem. It provides a structured, step-by-step system for translating the images in your mind into breathtaking visuals on your screen. We will demystify the process, break down the components of a successful prompt, and equip you with the knowledge to command this incredible technology with precision and intent. The future of art is not just something you look at; it’s something you can now create with your words. Let’s begin.
What is Midjourney and Why It’s a Game-Changer
Before we dive into the “how,” it’s crucial to understand the “what” and the “why.” Midjourney is a generative AI program and service created by the independent research lab, Midjourney, Inc. Unlike some other AI art generators, Midjourney is known for its characteristic artistic flair, producing images that are often more painterly, cinematic, and aesthetically pleasing straight out of the box.
Its primary interface is not a standalone app but a bot that operates within the chat application Discord. This unique setup transforms image creation into a social, collaborative experience. You can see what others are creating, be inspired, and even use their images as starting points. This community-driven approach, combined with the raw power of its AI models, makes Midjourney a unique and highly sought-after tool.
So, why is it a game-changer? The speed is one factor. A concept that could take a digital artist days to render can be visualized in less than a minute. This allows for rapid iteration and exploration of ideas. More importantly, it democratizes creativity. It lowers the barrier to entry so drastically that the only limit is your imagination. You don’t need to know how to draw hands or mix colors. You just need to be able to articulate an idea. This fundamental shift from manual creation to conceptual curation is what makes Midjourney and similar tools so revolutionary.
Expert Insight: “The magic of Midjourney isn’t just that it makes images. It’s that it provides a ‘thought partner’ for visual ideas. It allows creators to think visually in a way that was previously impossible, bypassing the ‘skill gap’ between an idea and its execution.” – Niaz Khan, SEO & AI Expert
Getting Started: Your First Steps in Midjourney
Before you can create your first masterpiece, you need to get your foot in the door. The process is straightforward, but it requires a few specific steps.
Setting Up Your Account
- Create a Discord Account: If you don’t already have one, sign up for a free account at discord.com. This is the gateway to Midjourney.
- Join the Midjourney Discord: Go to the official Midjourney website and click “Join the Beta.” This will invite you to their Discord server.
- Subscribe to a Plan: Midjourney operates on a subscription model. It offers different tiers based on how much “fast GPU time” you need (this is what powers image generation). For a beginner, the Basic Plan is a perfect starting point. You can manage your subscription via the
midjourney.com/accountpage or by using the/subscribecommand in Discord.
Navigating the Interface
Once you’ve joined the server, you’ll see a dizzying list of channels. Look for the channels named #newbies-1, #newbies-2, etc. These are where you’ll interact with the bot.
The entire process revolves around slash commands. The most important one is:
/imagine: This is your primary tool for creating an image.
To use it, simply type /imagine in the chat box, select the prompt option that appears, type your text, and hit enter. The bot will then process your request and post four generated images within the chat.
Advice Tip: For a cleaner experience, you can create your own private Discord server and add the Midjourney bot to it. This prevents your creations from getting lost in the public channels and keeps your workspace organized. To do this, right-click the Midjourney bot in the member list and select “Add to Server.”
The Anatomy of a Midjourney Prompt
This is the heart of the process. A prompt is the set of instructions you give the AI. The quality of your prompt is directly proportional to the quality of the output. A great prompt is descriptive, specific, and structured. Let’s dissect it.
A powerful prompt can be broken down into several key components. Think of it as a recipe for a cake. You need the right ingredients in the right proportions.
The Core Subject
What is the main focus of your image? Be precise.
- Weak:
a dog - Strong:
a majestic Alaskan Malamute wolfdog with piercing blue eyes, its thick fur covered in a light dusting of snow
The Medium and Style
What kind of art is this? A photo, a painting, a sketch, a 3D render? This is a crucial keyword.
hyper-realistic photograph,cinematic film still,oil painting in the style of Rembrandt,anime illustration,3D render in Unreal Engine 5,watercolor,pencil sketch,lino-cut print.
The Environment and Lighting
Where is the subject? What is the atmosphere? Lighting is one of the most powerful tools in your prompt.
in a misty, ancient forest,standing on a futuristic cyberpunk street,golden hour lighting,dramatic volumetric lighting,neon glow,soft, diffused studio lighting,a bright, sunny day.
The Artistic Influence
Whose style do you want to emulate? Referencing artists, photographers, or art movements is a powerful way to guide the AI.
in the style of Ansel Adams,Art Nouveau,surrealism,in the style of H.R. Giger,a matte painting by Syd Mead,photographed by Annie Leibovitz.
Putting It Together: A Sample Prompt
Let’s combine these components.
Basic Prompt: a cat
Intermediate Prompt: a fluffy white cat on a windowsill
Advanced Prompt: A hyper-realistic photograph of a fluffy white Turkish Angora cat sitting on a dusty windowsill, bathed in the warm golden hour light of a setting sun. The background is slightly blurred to create a shallow depth of field. Photographed by Annie Leibovitz. --ar 16:9
This level of detail gives the AI a much richer set of instructions, resulting in a more accurate and professional-looking image.
Expert Tip: To create AI images with Midjourney effectively, don’t just describe the subject; describe the entire scene as if you were a film director. Describe the camera angle, the lighting, the mood, and the style. The more sensory details you provide, the better.
Advanced Prompt Engineering: The Secret Sauce
Mastering the basics is just the beginning. To truly unlock Midjourney’s potential, you need to learn a few advanced techniques. These are the tools that separate a good image from a great one.
Image Prompting
Midjourney allows you to use images as part of your prompt. This is a game-changer for controlling composition, style, and specific details. To do this, you simply paste the URL of an image (or upload it to Discord and get its URL) at the beginning of your prompt.
Example: [image URL of a character] a photorealistic portrait of a human version of this character
This will take the essence of the character from the image and apply it to a new creation.
Multi-Prompting
This technique involves using a double colon (::) to give weight to different parts of your prompt. It tells Midjourney that some concepts are more important than others.
Syntax: [concept 1]::[weight] [concept 2]::[weight]
Example: a vibrant coral reef::5 a scuba diver::2
The ::5 gives the coral reef five times more weight than the scuba diver (which has a weight of ::2). This means the composition, colors, and focus will be heavily biased towards the reef, making the diver a smaller, secondary element. This is a powerful way to balance competing ideas in your image.
The Power of Parameters
Parameters are special commands you add to the end of your prompt to control the technical aspects of the output. They always start with two dashes (--). Here are the most essential ones:
--ar <width>:<height>: Aspect Ratio. Change the shape of your image. The default is 1:1 (square). For landscapes, use--ar 16:9. For portraits, use--ar 2:3.--no <item>: Negative Prompting. Tell the AI what you do not want in the image.--no text, signatures, ugly hands. This is incredibly useful for cleaning up common AI artifacts.--stylize <value>or--s <value>: Stylization. Controls the artistic interpretation of your prompt. A low value (e.g.,--s 50) produces images closer to your literal text. A high value (e.g.,--s 1000) gives the AI more creative freedom, often resulting in more visually striking images. The default is 100.--chaos <value>or--c <value>: Chaos. This changes how varied the four initial images in your grid are. A low value is more predictable; a high value (e.g.,--c 60) will give you more surprising and diverse results.--seed <number>: The Seed. Every generation has an invisible “seed” number that helps create the initial noise. If you get an image you like and want to make small changes (like changing the subject slightly), you can use the same--seednumber to ensure the final composition remains similar.
Advice Tip: Use the
--noparameter religiously. If you’re generating a landscape, add--no people. If you’re generating a logo, add--no gradients, text, shadows. This is often more effective than trying to describe what you want in negative terms.
Real-Life Examples: From Prompt to Masterpiece
Let’s see how these concepts come together in real-world scenarios.
Scenario 1: Blog Post Featured Image
- Goal: An eye-catching image for an article about the future of sustainable cities.
- Prompt:
A sprawling futuristic city integrated with nature, towering skyscrapers with vertical gardens, solar panels covering every roof, flying vehicles, lush green parks at ground level, clean energy, hyper-realistic, cinematic, wide-angle shot, golden hour lighting --ar 16:9 --s 250
Scenario 2: Character Portrait for a Story
- Goal: A detailed portrait of a grizzled space smuggler.
- Prompt:
Portrait of a cynical, grizzled male space smuggler in his 50s, with a cybernetic eye and a scar across his nose, wearing a weathered leather jacket in a bustling alien cantina, volumetric lighting, photorealistic, 8k, detailed facial features --ar 2:3 --no smiling
Scenario 3: Product Mockup
- Goal: A surreal, artistic shot of a new brand of energetic drink.
- Prompt:
A sleek, minimalist can of an energetic drink floating in a surreal, zero-gravity environment of swirling, colorful cosmic dust and neon nebulae, product photography, studio lighting, ethereal, surrealism --ar 4:5
In each case, you can see how the prompt is layered. It starts with the core subject, adds details, defines the style and environment, and then uses parameters for technical control. This is the formula for success.
Case Study: A marketing agency was hired to create a series of print ads for a new fantasy novel. Instead of hiring expensive models and booking studio time, they used Midjourney. By crafting detailed prompts like, “A weary elven ranger, clad in intricate silver armor, standing at the edge of a glowing, mystical forest, cinematic, epic fantasy, in the style of Alan Lee –ar 3:2,” they generated a month’s worth of compelling, consistent character visuals in a single afternoon at a fraction of the cost. This demonstrates Midjourney’s power not just for art, but for commercial application.
Common Pitfalls and Mistakes to Avoid
Even with the right knowledge, there are traps you can fall into. Here are a few common mistakes to be aware of.
- Vagueness: The most common mistake is being too brief. “A beautiful landscape” is too open-ended. You will get a generic, uninspired result. Be specific and add detail.
- Contradictory Prompts: Asking for “a photorealistic cartoon” or “a minimalist baroque painting” will confuse the AI and lead to chaotic results. Make sure your concepts align.
- Ignoring the Parameter Rules: Parameters must be at the very end of your prompt. If you put text after a parameter like
--ar 16:9, it will be ignored by the bot. - Overcomplicating: While detail is good, don’t write a 500-word essay. The AI has a token limit, and excessively long prompts can dilute the key concepts. Aim for a descriptive but concise paragraph.
- Forgetting Negative Prompts: Not using
--nois a missed opportunity to clean up your image. Always think about what you don’t want to see.
Safety Warnings and Ethical Considerations
With great power comes great responsibility. As you learn how to create AI images with Midjourney, it’s vital to be aware of the ethical landscape.
- Copyright and Plagiarism: Midjourney is trained on a massive dataset of copyrighted images from the internet. The legal status of AI-generated art is still a complex and evolving field. If you plan to use your images for commercial purposes, it is your responsibility to understand the legal risks. You should avoid using the names of living artists to directly copy their style, and you should not attempt to recreate copyrighted characters or logos.
- Deepfakes and Misinformation: The technology can be used to create highly realistic fake images of people. Using Midjourney to create deepfakes, defame individuals, or spread misinformation is unethical and can have serious legal consequences.
- Bias and Stereotypes: The AI models are trained on data that contains human biases. As a result, they can reproduce and amplify harmful stereotypes. Be mindful of your prompts and the images you create. Avoid reinforcing negative clichés.
- Terms of Service: You must always adhere to Midjourney’s Terms of Service, which forbid using the platform for illegal acts, hate speech, or the creation of sexually explicit content.
Safety Warning: Never use Midjourney to create images of real people, especially public figures, in compromising, defamatory, or misleading situations. This is a serious ethical breach and can be illegal. Treat the technology with respect.
What NOT to Do: The “Never-Evers” of Midjourney
To ensure you stay on the right path, here is a quick list of things to avoid.
- Do NOT share your Discord token or account information. It’s a security risk.
- Do NOT try to create images that violate Midjourney’s content policy. You will be banned.
- Do NOT ignore the ethical implications of your creations, especially those involving real people or sensitive topics.
- Do NOT assume you have full commercial rights to every image you create without checking the terms of your subscription plan.
- Do NOT get frustrated by bad initial results. It’s part of the process. Refine your prompt and try again.
Checklist for a Perfect Prompt
Before you hit enter, run through this quick checklist to ensure your prompt is as strong as it can be.
- ☑ Core Subject Defined? Is it clear and detailed?
- ☑ Medium/Art Style Specified? (e.g., photo, oil painting, 3D render)
- ☑ Environment and Lighting Described? (e.g., “in a forest,” “dramatic lighting”)
- ☑ Artist/Photographer Reference Included? (for style)
- ☑ Aspect Ratio Parameter Added? (e.g.,
--ar 16:9) - ☑ Negative Prompts Used? (e.g.,
--no text) - ☑ Stylization Parameter Adjusted? (e.g.,
--s 250)
Trusted References and Sources
To continue your education, here are some of the best sources of information on Midjourney. These are your trusted references.
- Official Midjourney Documentation: The most authoritative source for features, parameters, and terms of service. Available at
docs.midjourney.com. - Midjourney Community Showcase: The public Discord channels are a live, ever-updating gallery of what’s possible. Look at the prompts others are using to learn.
- The Midjourney Wiki on Reddit: The
r/midjourneysubreddit is a fantastic community for asking questions, sharing tips, and seeing the latest trends. - Midjourney Documentation: Always check the official docs for the most up-to-date parameter values and feature announcements.
The Pros and Cons of Creating AI Images With Midjourney
Every tool has its strengths and weaknesses. Here’s a balanced look at Midjourney.
Advantages (Pros)
- Unmatched Artistic Quality: It is widely considered to produce the most aesthetically pleasing and artistically nuanced images among its competitors.
- Speed and Efficiency: It can generate concepts in seconds, massively accelerating the creative workflow.
- Community and Inspiration: The Discord interface provides a built-in community for learning and collaboration.
- Democratizes Creativity: It empowers non-artists to visualize complex ideas.
- Continuous Improvement: The Midjourney team releases regular updates that significantly improve image quality and coherence.
Disadvantages (Cons)
- Learning Curve: Crafting effective prompts is a skill that requires practice and experimentation.
- Discord-Only Interface: The reliance on Discord can be intimidating for users new to the platform and lacks a dedicated, standalone application interface.
- Lack of Control: You cannot manually edit or fine-tune specific parts of the image. You are a “director,” not a “painter.”
- Cost: While it has a free trial at times, it’s a paid service, which can be a barrier for hobbyists.
- Ethical and Legal Ambiguity: The issues surrounding copyright and training data are unresolved and present a risk for commercial users.
Conclusion: Your Creative Journey Begins Now
The journey of a thousand magnificent images begins with a single, well-crafted prompt. You now have a comprehensive understanding of how to create AI images with Midjourney. We’ve moved from the foundational “what” and “why” to the practical “how,” dissecting the anatomy of a prompt and exploring the advanced tools that give you precise control.
Remember, Midjourney is not a magic button; it’s a powerful conversation partner. Your ability to “speak” its language through descriptive, structured, and creative prompts will directly determine the quality of the art you create. Don’t be afraid to experiment, to fail, and to iterate. Every “bad” image is a lesson that brings you closer to a masterpiece. The creative power to visualize your wildest ideas is now at your fingertips. Go forth and create something amazing.
Final Advice Tip: Keep a digital journal or a simple text file of all your prompts, both good and bad. When you hit a home run, save the prompt. When you get a confusing result, save that prompt too and analyze what went wrong. This is the fastest way to build your own personal “prompt library” and master the art of AI generation.
Premium Tips from Niaz Khan Expert
As someone who has spent years navigating the intersection of SEO, content creation, and cutting-edge tech, here are my top premium tips for mastering Midjourney.
- The “Seed” is Your Best Friend: When you get a composition you love but want to change a minor detail (e.g., change the color of a car), use the
--seedparameter. The bot gives you the seed number in the image details. Using the same seed for a new prompt will maintain the core structure, making it an essential tool for iterating on a design. - Think in Layers for Complex Scenes: For a highly detailed scene, break your prompt down into layers. Start with the environment (
--ar 16:9), then add the main subject, then secondary elements. You can even use multi-prompting (::) to weight each layer. This is far more effective than a single, long descriptive sentence. - The “Goldilocks” Stylize: Don’t just stick to the default
--s 100. For product mockups or brand assets, use a low stylize (--s 50) to keep it literal. For artistic portraits and conceptual art, push it to--s 750or higher. Spend time learning what stylization value works best for your specific goals. - Stop Obsessing Over the 4-Grid: New users often try to get the perfect image in the first 4-image grid. This is inefficient. Instead, use the four images as a brainstorming session. If you see a composition you like, immediately “upscale” it, and then use “Vary (Region)” or “Vary (Subtle)” to refine it. This is a much more targeted approach.
Disclaimer 
The information provided in this article is for educational and informational purposes only. The author and publisher are not responsible for any actions taken based on the content of this guide. The field of AI and copyright law is complex and rapidly changing. Always adhere to the official terms of service of Midjourney and consult with a legal professional for any commercial use or copyright-related questions. The views expressed are those of the author.

Pingback: Can You Sell Midjourney Images on Etsy? – Niaz Fix